I’ve been seaming ahead with my plastic canvas book sleeve and now I'm finally attaching the flaps! It’s a very exciting moment for any first time book sleeve maker so I'm crazy excited to share my progress with you.
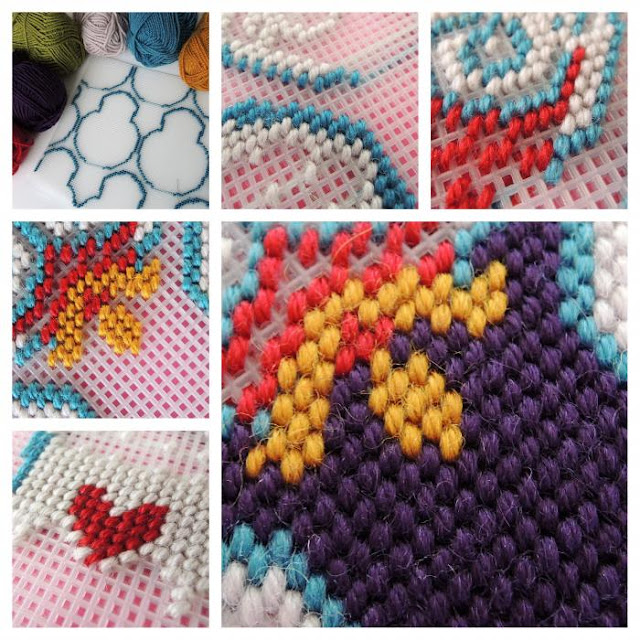
The last update I gave was a collage of the front cover's progress. Here it is again in case you missed that...I'm being a bit cryptic with the big reveal but I won't be keeping you in suspense for much longer.
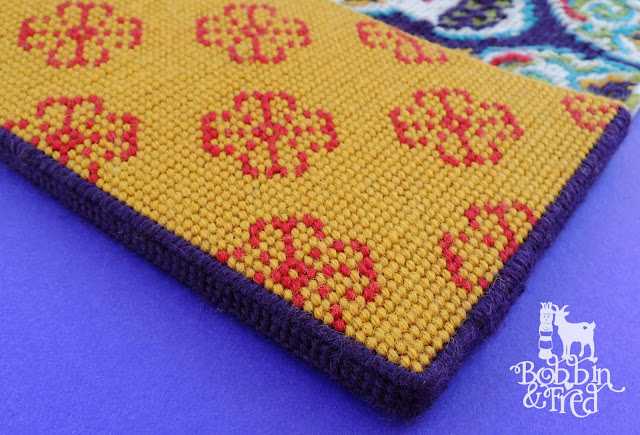
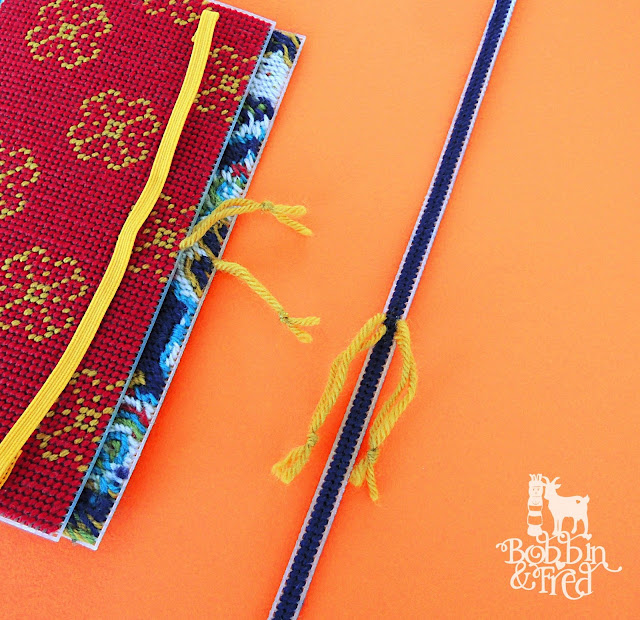
Since then I've stitched the inside flaps that will hold the sleeve onto the book. I did the flower detail in tent stitch before filling in the background.
Fred measured my progress but he's a bit inexperienced with a tape measure and started from 1" by mistake...silly goat. There's actually just over 4" of stitching here not 5"
After finishing the left side I moved onto the right. Again I stitched the flower motifs first before cutting away two threads of the plastic canvas at the top and bottom.
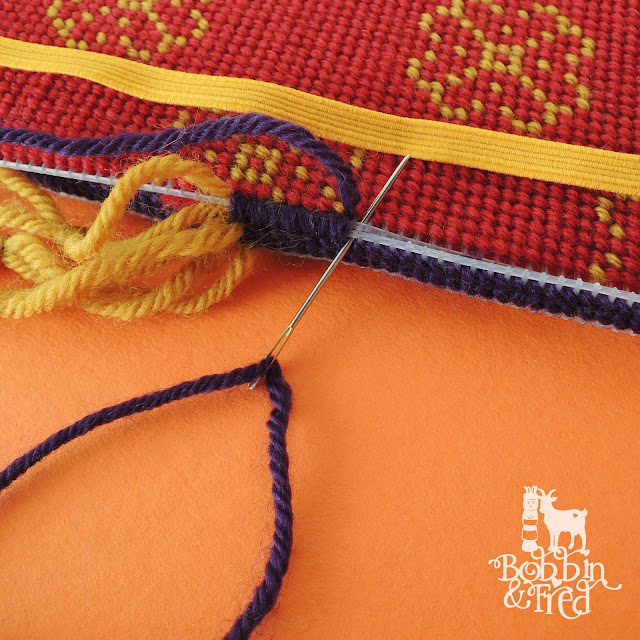
I got stuck into the background and used overcast stitch to cover the raw edges of the holes I'd cut.
I used a larger needle to thread flat elastic through both of the holes.
Then I folded the elastic over at the back and put a pin in it to secure it into place, ready to sew.
I used a polyester thread in a matching colour and placed the stitches in the lines between the lengths of elastic so I didn't sew through them. I don't know if it'd make much difference but I didn't want to risk weakening them and they served as a guide to get really neat stitches.
To get a really stunning finish I stitched through the folded layers at the back and folded the elastic at the front back against the stitching so the needle passed through all of the layers of elastic (front and back) and the canvas at once. It worked really nicely, here's how it looks on the front...
I had to reverse the colourway of the right flap when I found I didn't have enough dark mustard yarn to do both the same. This was such a happy accident! I LOVE the quirky contrast. It was a design decision borne from necessity but one I'll make consciously next time. I think it makes a great design signature.
Next up I cut some thin lengths to add a bit of depth...plastic canvas comes in sheets and the sheet wasn't long enough so I patched three pieces together to get the length I needed...I overlap mine by seven holes because seven's my favourite number.
After that I marked the middle of the outside edge of the front cover, the inside flap and, the bit that connects them. I haven't thought of a proper name for the two connecting bits yet...suggestions are very welcome in the comments. They don't have to be technical, I've named the inside of the sleeve the inside flappy bits after all.
Then I lined up the middle of the dark purple side bit with the middle of the flappy bit and sewed the two pieces together using an overcast stitch.
The one above is the right side, I've already done the left as you can see below.
When I patched together the dark purple side bits I decided to make two joins, at the bottom and top edge, rather than one in the middle because I wanted the joins to be in the least obvious place. If the joins were in the middle of the outside edge you'd notice them every time you opened and closed the book.
Aaaand...that's where I'm up to. I'm so close! One side and a couple of raw edges to go.
I've been working on this project off and on for months. I charted the design last February and made my first stitches in June so I'm bouncing with joy that it's so very nearly finished. I can't wait to share the end result with you.
Update: Have a look at, It's a Finish, Day of the Dead Tapestry Notebook Cover, to see the completed design!
I'll be back next week with a DIY project for you to have a sew at.
Until then, have a lovely sewing filled week xX







This is a beautifully laid out project. I like that both end flaps are different. This definitely makes it a unique piece. I can't wait to see the finished project.
ReplyDeleteThank you so much, it's lovely to hear your thoughts and encouragement...I'm hoping to post the finished project very soon!
Delete